
TILE TECHNOLOGY

Tiles technical features
Porcelain and ceramic tiles are an ideal choice for those seeking high-quality, durable materials. Made from selected raw materials using advanced techniques, these tiles feature low porosity and high mechanical strength, making them suitable for residential and commercial spaces.
Available in a wide range of designs and finishes, porcelain tiles combine aesthetics with functionality. Proper installation techniques are essential for achieving optimal, long-lasting results, whether using full-body tiles or white-body gres. These options offer innovative solutions to enhance any space.
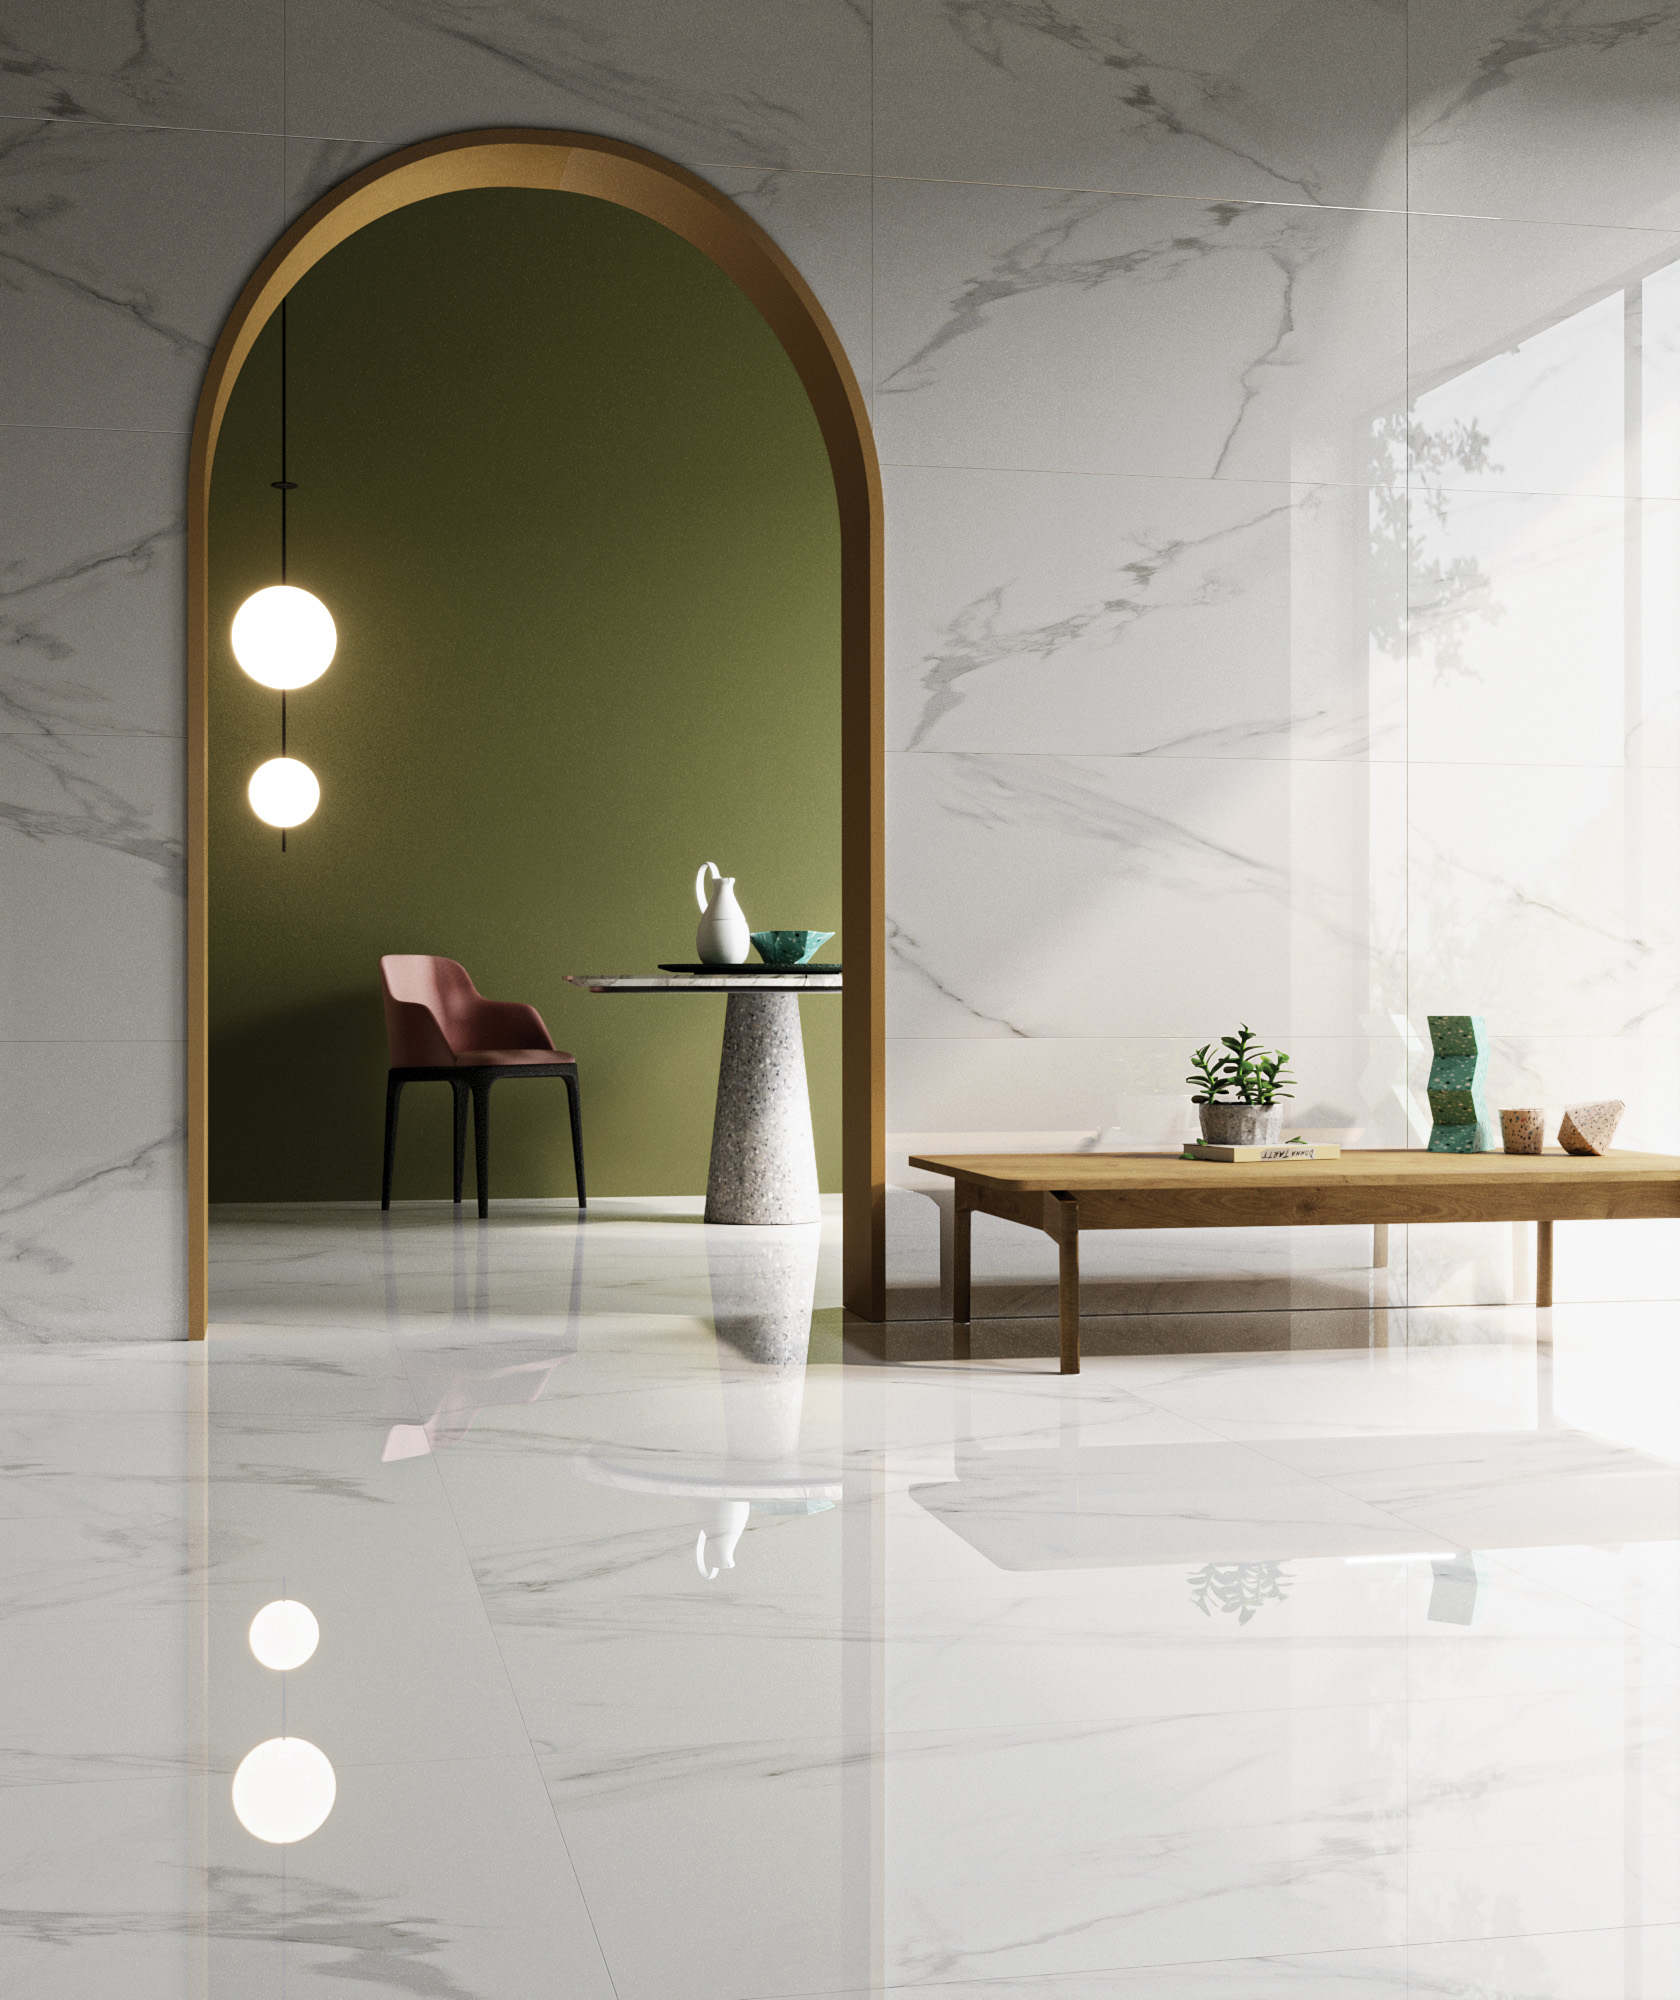
Porcelain tiles
(BIa - GL)
Porcelain tiles are manufactured using pure, selectively imported raw materials mixed using the most advanced extraction and sorting techniques; they are obtained with a production process similar to that of single-fired tiles. The resulting product is top-quality porcelain tile, obtained by raw materials wet grinding, followed by partial drying by spraying, silo storage to allow homogenization of properties, and pressing with highly efficient hydraulic presses up to specific pressures more than 500 kg/cm2. The high pressure combined with high firing temperature exceeding 1200 °C results in highly compact & strong ceramic surface with very low water absorption (lower than 0.4% according to UNI EN ISO 10545-3 standard test method) and extremely high mechanical resistance (average value exceeding 40 N/mm2 according to UNI EN ISO 10545-4 standard test method). Thanks to their low porosity, these porcelain tiles are frost-proof and rated as belonging to the BIa GL class according to the International Standard ISO 13006 and European Standard UNI EN 14411 which requires water absorption ≤ 0.5%.
RAK Ceramics porcelain tiles are available in a wide range of designs, sizes and finishes.
ADVICE ON LAYING
Although our porcelain tiles can be installed using traditional cement mortars, we advise using modern adhesives. While installing on wall, the two-layer spreading system is recommended to perfectly wet the back of the tile. Quickly dipping each tile in water before installation will remove any dust on the back of the tile for perfect adhesion. Do not wet the tiles if you are using vinyl, acrylic resin adhesives or two-component organic-solvent based adhesive. It is advisable to incorporate suitable shrinkage - flexion joints (movement/ expansion joints) when installing on large floors: the joints should never be spaced more than 4 - 5 linear meters apart indoors and 3 linear meters apart outdoors. Be careful while using strong coloured grouts as they might leave stains on the surface of the tiles that may be difficult to remove later.
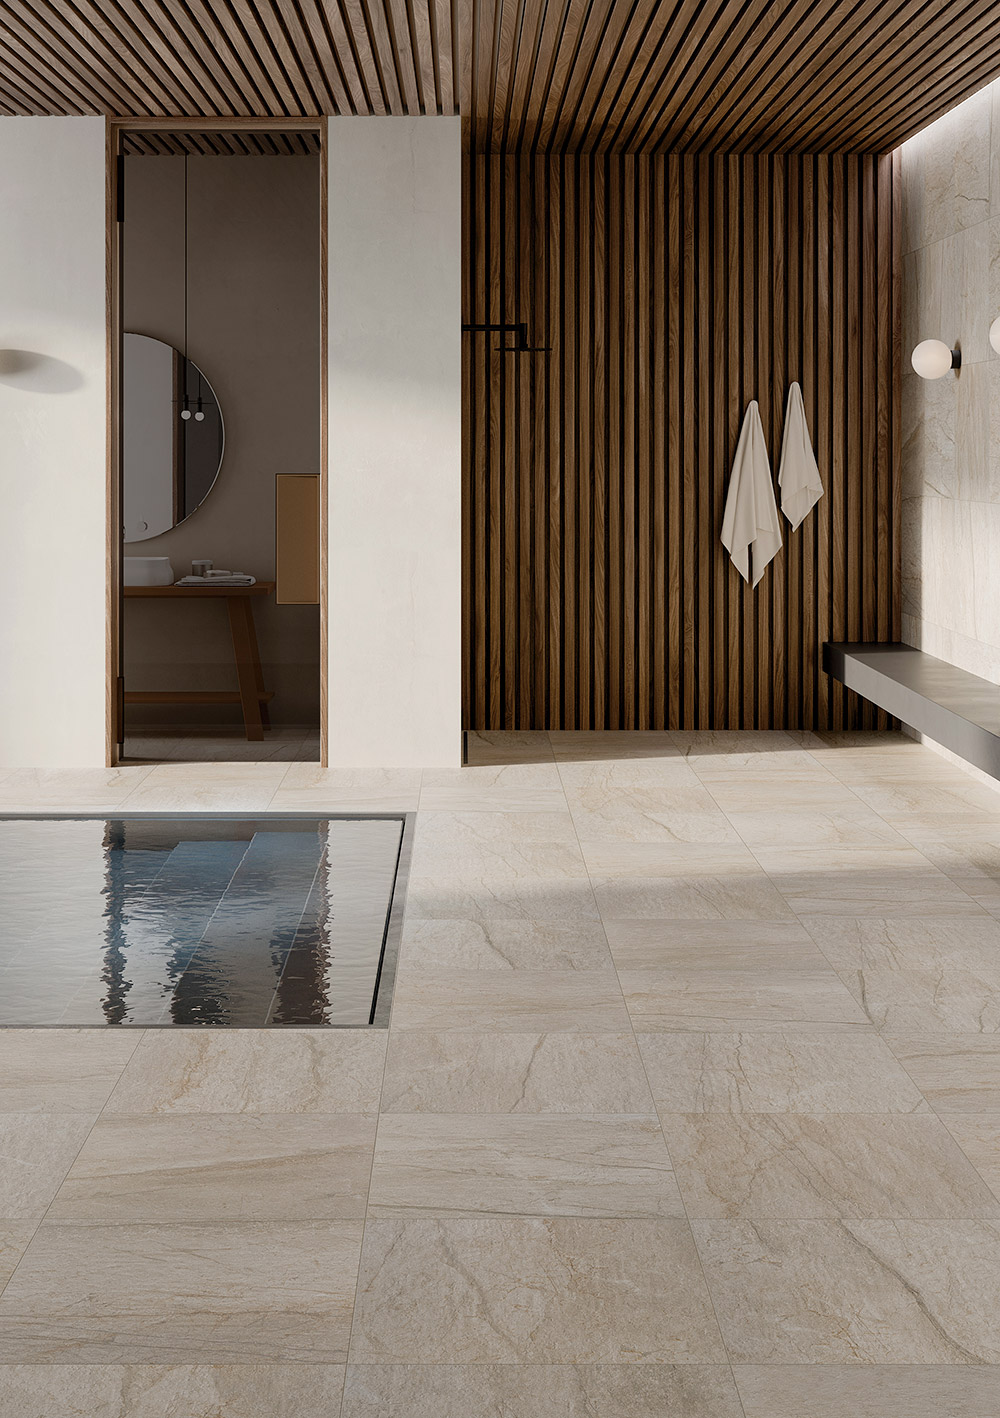
Full Body
Porcelain tiles
(BIA - UGL)
Full body porcelain tiles are manufactured using pure, selectively imported raw materials mixed using the most advanced extraction and sorting techniques; they are obtained with a production process similar to that of single-fired tiles. The resulting product is top-quality porcelain tile, obtained by raw materials wet grinding, followed by partial drying by spraying, silo storage to allow homogenization of properties, and pressing with highly efficient hydraulic presses up to specific pressures more than 500 kg/cm2. The high pressure combined with high firing temperature exceeding 1200 °C results in highly compact & strong ceramic surface with very low water absorption (lower than 0.1% according to UNI EN ISO 10545-3 standard test method) and extremely high mechanical resistance (average value exceeding 40 N/mm2 according to UNI EN ISO 10545-4 Standard test method). Full body porcelain are suitable for heavy traffic areas as they are characterized by a deep abrasion resistance (equal to 150 mm3 of removed material, as opposed to the 175 mm3 provided for by the UNI EN ISO 10545-6 standard test method). Thanks to their low porosity, these tiles are frost-proof and rated as belonging to the BIa UGL class according to the International Standard ISO 13006 and European Standard UNI EN 14411 which requires water absorption ≤ 0.5%. Chemical acid and base resistance (UNI EN ISO 10545-13 standard test method) makes full body porcelain tiles suitable for environments where aggressive chemicals are used, e.g. food processing factories, hospitals, chemical or pharmaceutical plants. The full body porcelain tiles are available in a wide range of sizes and surfaces (slip-resistant finish also available).
ADVICE ON LAYING
Although our full body porcelain tiles can be installed using traditional cement mortars, we advise using modern adhesives. For large sizes over 40x40cm, outdoor and wall installations, the two-layer spreading system is recommended to perfectly wet the back of the tile. Quickly dipping each tile in water before installation will remove any dust on the back of the tile for perfect adhesion. Do not wet the tiles if you are using vinyl, acrylic resin adhesives or two-component organic-solvent based adhesive. It is advisable to incorporate suitable shrinkage - flexion joints (movement/ expansion joints) when installing on large floors: the joints should never be spaced more than 4 - 5 linear meters apart indoors and 3 linear meters apart outdoors. Be careful while using strong coloured grouts as they might leave stains on the surface of the tiles that may be difficult to remove later.
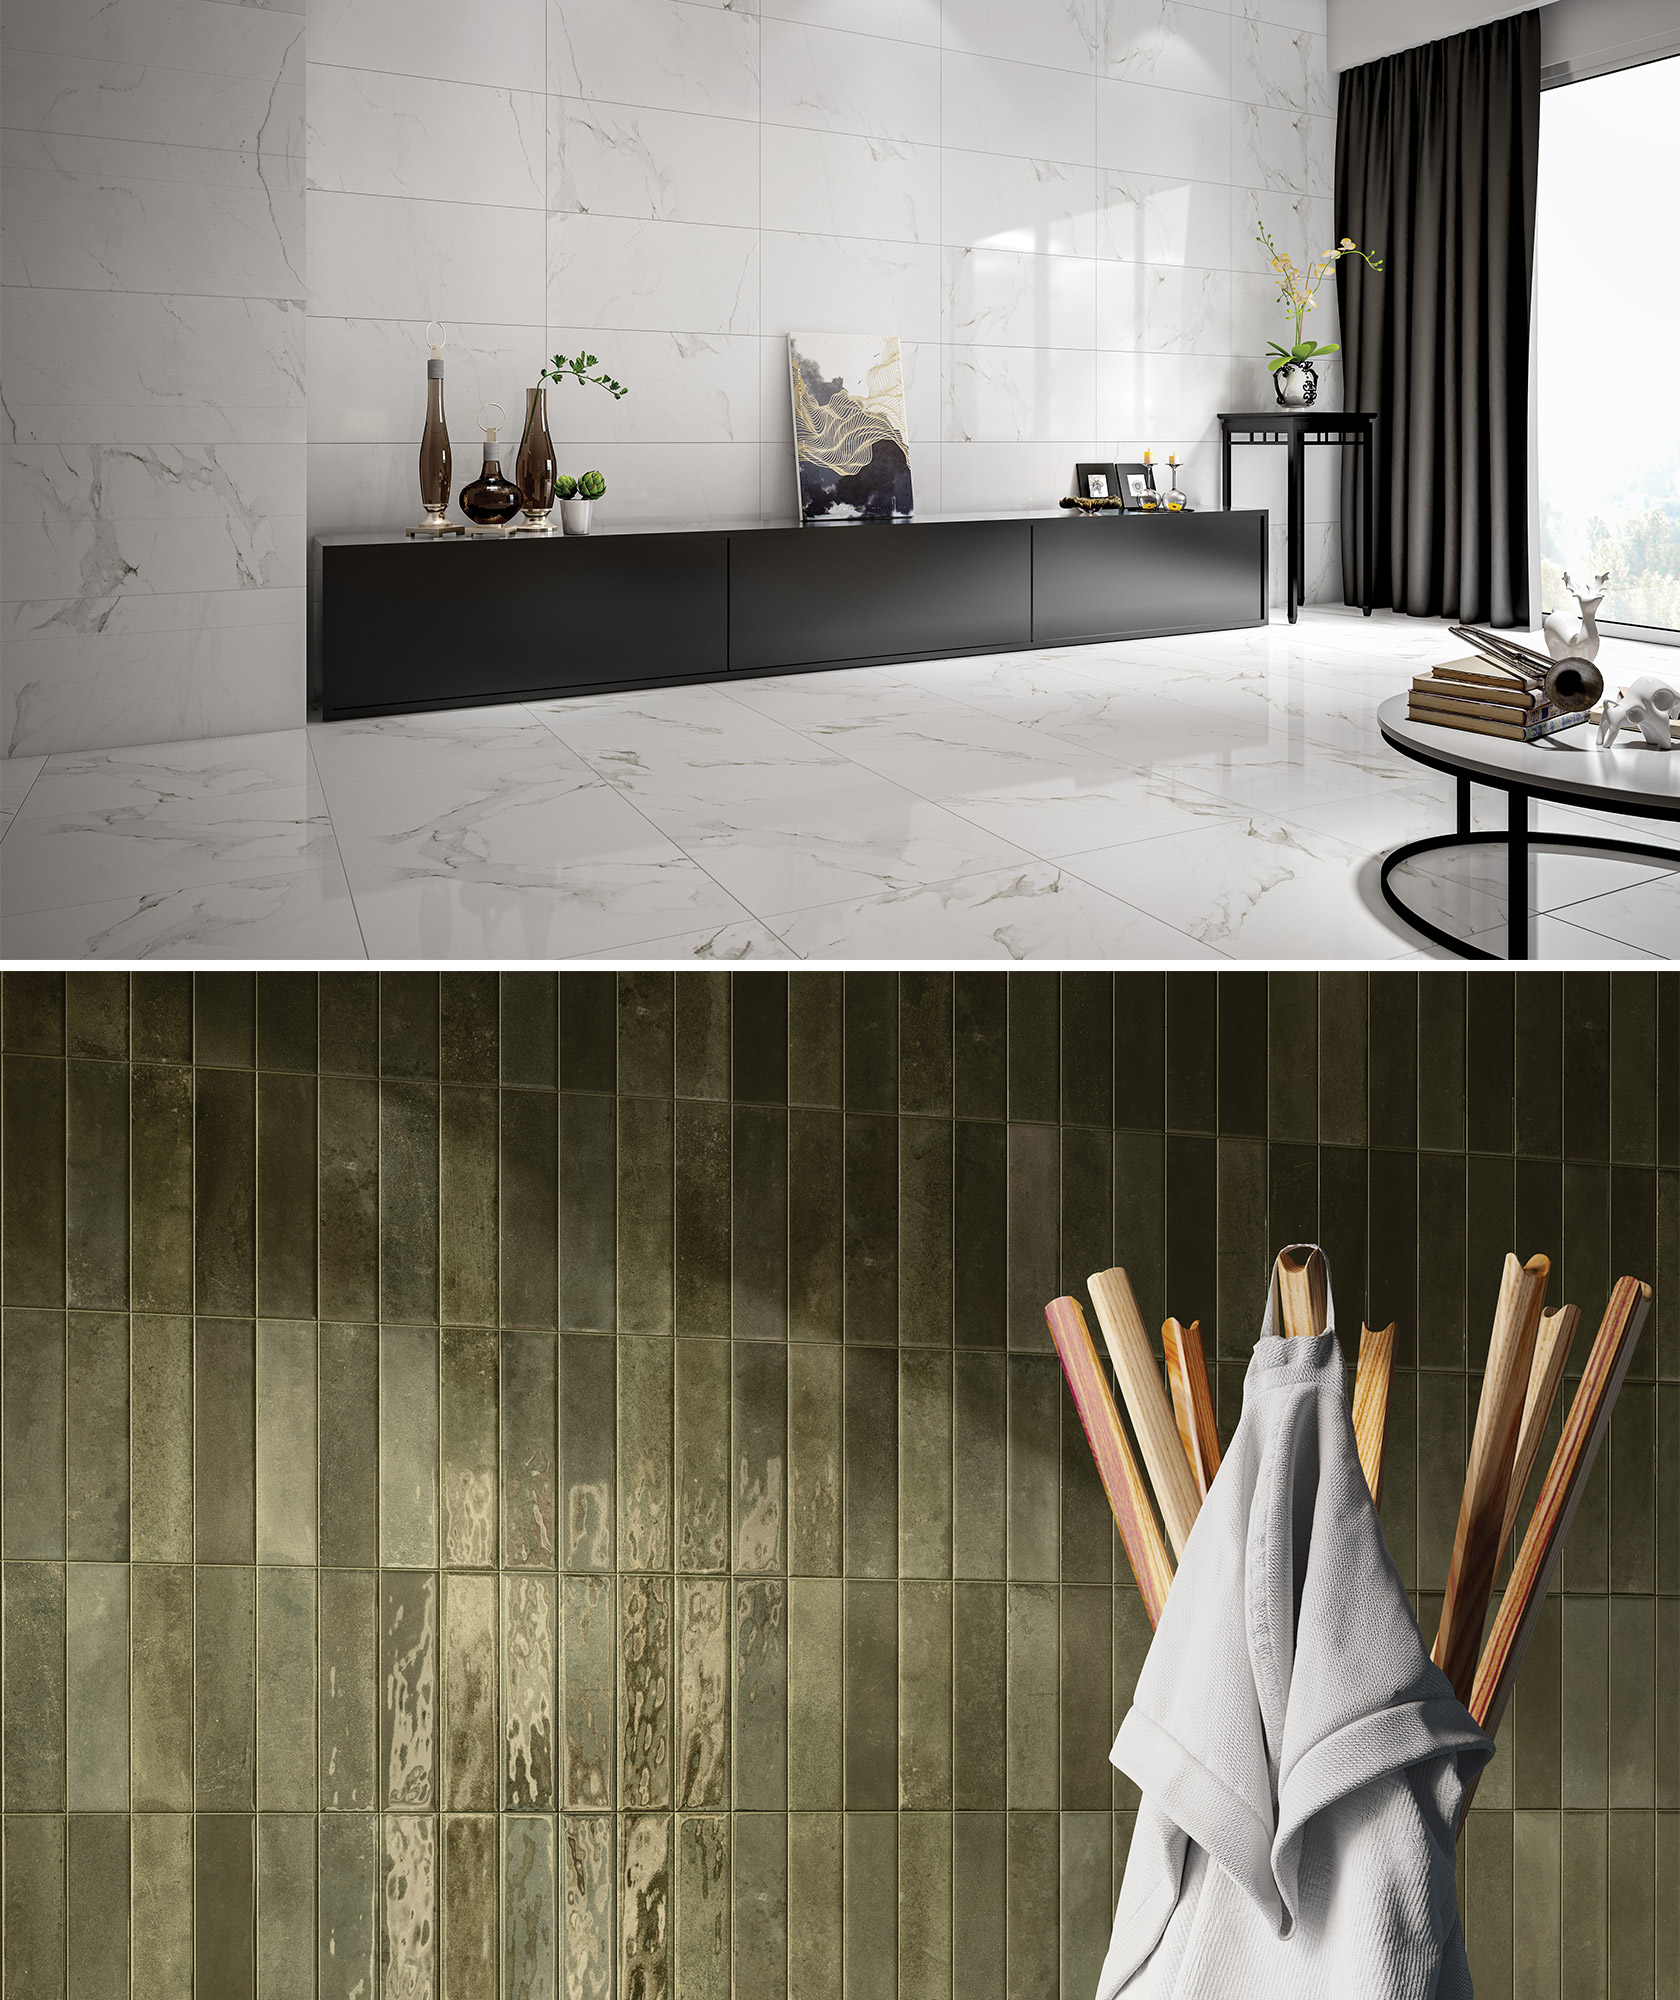
Red body and white body
Ceramic tiles(BIII)
Red body and white body Ceramic tiles are made with finest quality clays and with chamotte (a ceramic raw material with high percentage of silica). These raw materials are submitted to dry grinding and suitably mixed and wet and then pressed with hydraulic presses. Quick-cycle support firing is obtained via roller kilns reaching temperatures of approximately 1130 °C. After biscuit glazing, the vitrified product is sintered in a single-layer roller kiln at approximately 1030 °C. The resulting wall tiles have an average bending strength that is higher than 16 N/mm2 in accordance with the UNI EN ISO10545-4 standard test method and a water absorption level that is higher than 10 %; they belong to the Blll (GL) group according to the International Standard ISO 13006 and UNI EN 14411 standard. This class of products shows virtually no shrinkage during firing; therefore such dimensional consistency results in extremely easy laying.
ADVICE ON LAYING
Ceramic Red and White body tiles can be laid using either tile adhesives or cement mortar. Under no circumstances should the tiles be wet before laying when using acrylic or vinyl resin based adhesives or two- component organic solvent based adhesives. When laying large sized tiles it is best to adopt the two layer spreading method and, when the laying surface is very large, to provide for suitable expansion joints which must not be spaced more than 4-5 linear meters apart from one another.
IMPORTANT POINTS TO REMEMBER WHILE LAYING THESE TILES
When laying on wet concrete or plaster, leave to dry for at least one week for each centimetre of thickness. When laying on brick, never lay on tile adhesive measuring more than 4-5 mm in thickness. For laying on flexible supports (for example plasterboard panels, polymer panels, etc.) which may result in movement of the tiles, we advise laying on tile adhesive measuring no more than 2-3 mm in thickness and to use class C2 or D1 glues. For laying on waterproof brick, which prevents the release of damp, we advise laying on tile adhesive measuring no more than 3 mm in thickness and to use class C2 or D1 glues. Avoid laying without expansion joints or joints where stress due to expansion is released directly onto the tile.
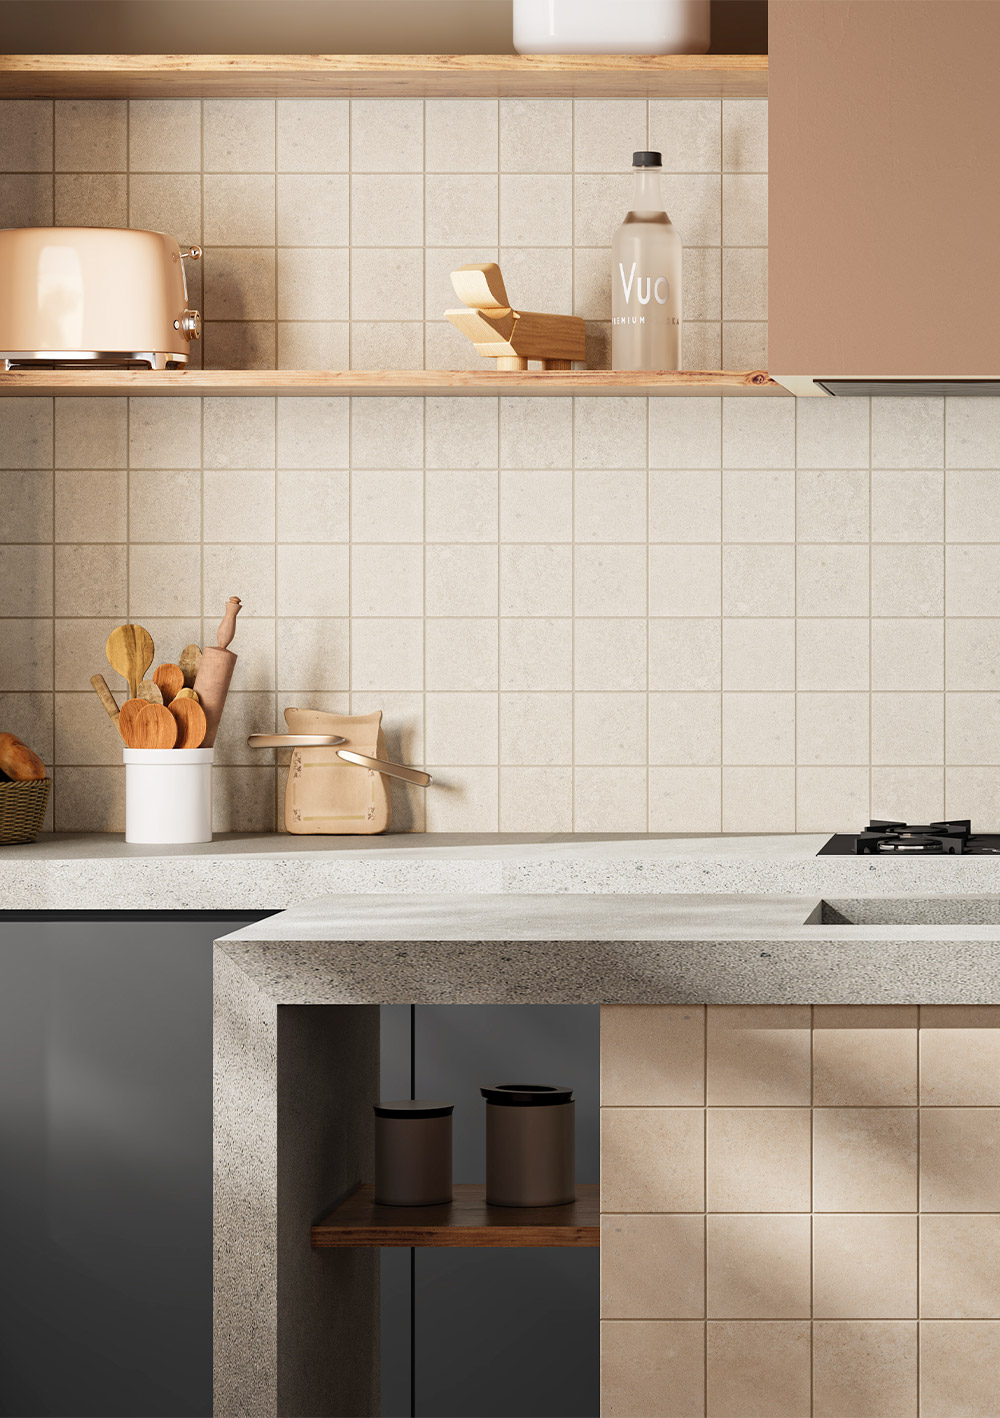
Gres White
Body tiles
(BIIA)
Gres white body tiles are created by mixing raw materials including high quality white or red clays, quartz and feldspar in wet grinding ball mills. After grinding, a clay-based suspension of these materials called a slip is fed out of the mill then spray-dried to remove excess moisture. Following the spray drying process, the free flowing powder is pressed using advanced hydraulic presses with a specific pressing power exceeding 300 kg/cm2 in order to obtain a compact gres body. Once dried, the tiles are coated and decorated with glazes to make them aesthetically pleasing and meet our customers design requirements. The glazed tile body is then fired in roller kilns where temperatures of approximately 1200 °C are reached. The resulting product is normally a medium-to-low porosity (3% to 5%) tile, in compliance with the International Standard ISO 13006 and European Standard UNI EN 14411 standard and rated as belonging to the BIIa GL group with notable technological specifications such as the product flexural strength (average value: 30N/mm2 according to UNI EN ISO 10545-4 standard test method). As for wear resistance, this will depend on the type and colour of glazing and may change according to different products or collections. As a general rule, bright finishes are not recommended for heavy traffic floors or rooms opening onto outdoor areas, where sand or other abrasive materials are more likely to be brought in.
ADVICE ON LAYING
Our gres white body tiles can be laid using either traditional cement mortar or modern tile adhesives. When laying large size tiles, it is best to adopt the two-layer spreading system to ensure the adhesive is spread over 90 % of the tile surface. Quickly dipping each tile in water before installation will remove any dust on the back of the tile for perfect adhesion, however, do not wet the tiles if you are using vinyl, acrylic resin adhesives or two-component organicsolvent based adhesive. It is advisable to always incorporate suitable shrinkage-flexion joints (movement/expansion joints) which must not be spaced more than 4-5 metres apart from one another. These joints must be inserted not only between the tiles, but also reach the levelling compound below, consisting of either cement mortar or dry compound, depending on whether the tiles are set in the traditional manner or using a modern adhesive. The movement joints must be sealed with appropriate materials such as silicone or polyurethane-based sealants, depending on the anticipated traffic of the application area. Appropriate tile bedding layers should be used such as underlay, damp course, vapour barrier or any other layer necessary to prevent the tiles from detaching themselves or cracking due to water penetration.